Creating your First Page
There is a lot to do on this page, this is what we will cover:
Table of Contents
Create the site
When the software opens you will be asked to "agree" to the licence (ask your computer person)
Then you can create your site!
- The icon you choose will only be used in Publii, it won't be shown on the website
- you can leave the deafult, or picm one that represents what you'll be writing about
- Give the site a name
- this will be shown at the top of the site.
- for this site I chose "Create a Simple Website"
- don 't worry, as with most things you can change it later
- Then set the author name
- probably your name. But later in these instructions we will hide the name so you could enter anything you want.
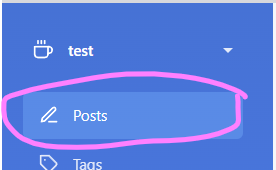
Open the post editor
- Go to Posts
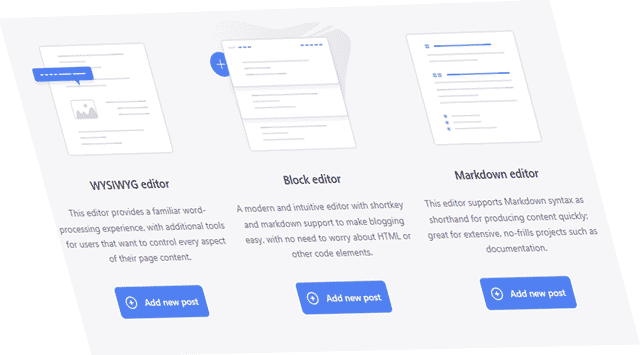
- Choose an editor

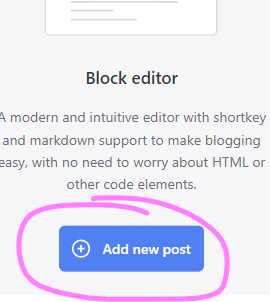
- Block: the simplest editor (recommended)
- paragraphs and simple headings
- simple tools for inserting paragraphs and images
- WYSIWYG: more advanced
- WYSIWYG: stands for What You See Is What You Get
- more like a word processor
- tools to help with links, alignment, embedding images, videos, tables of contents
- WYSIWYG: stands for What You See Is What You Get
- Markdown: a bit more like a programing language
- A simple interface, like Blocks, but with without the tools.
- All headings/images/links etc are entered a text based markup
- e.g
[Link to Home](/welcome.html)links to the welcome page
- e.g
- Can enhance the layout using simple HTML
- Block: the simplest editor (recommended)
Enter the content
Examples below will use the block editor
This bit will be easier if you have planned what you want to write. You may even be able to copy and paste!
- Add post wioth Block editor (if you havn't already)
- Click in the top to "Add post title"
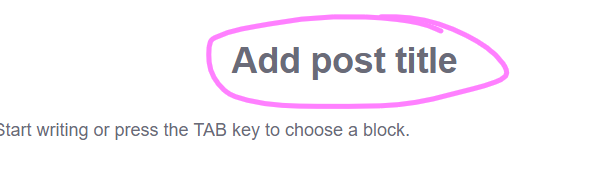
- Type the tile of your post (e.g for this page I typed "Creating your First Page")
- Click on "Start Wrting or press TAB key to choose a block" to begin entering your content

- By default this will let you type a paragraph of text
- If you want to add a picture or something else press the "plus" button
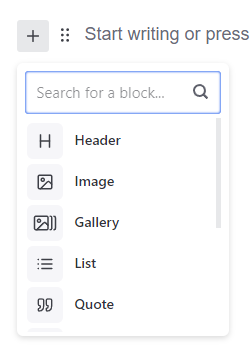
- Header will let you add section headers (Like "Open the post editor", "Enter the content" & "Preview" on this page
- Image will add a single image (like those on this page)
- Gallery will let you add multiple images that the visitor can flick through
- List a numbered or bulleted list (like this one)
- Quote if you want to include and highlight something someone else said. For example see the quote from Homer Simpson below:
D'oh!
- Homer Simpson
Preview
Now you've written something you probably want to see what it looks like!
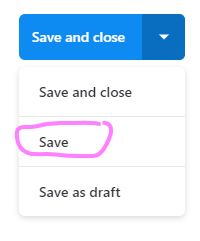
- At the top right of the screen press the drop down and choose "Save"
- Then in the top left right click "Preview"
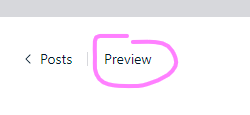
- your web browser will open up with a preview of the page
You can then continue editing & previewing until you are happy.
Once you're happy choose "Save and Close" to return to the Posts list.